Sunday, February 28, 2010
Before and After Party! (A drape redo)
Saturday, February 27, 2010
Ethnic Indian Home
 I was honoured to see two posts on my home… one solely for my orange wall!! Anyone who knows me, surely knows how much I love this wall & this colour….
 When I saw these pics on Ethnic Indian Home, I realised that my home has changed ever since… even the Orange wall doesn’t look the same!! So new pictures to be posted soon!!
My home is ever changing… there is always a new addition, new colours and always some thing to move around!! I have an eternal dekor itch!! Do you?? So how do you satisfy your itch?
Winner!
Friday, February 26, 2010
Delectable Dinner Dish
quipped my thirteen year old.
The dinner that I was so proud of that
I was dancing with delight.
 You see, it wasn't just an entree, it was a symbol.
 I've included the recipe so you can dance with delight over your delicious dinner dish too.
12 oz. lean ground beef (I substituted with beef strips I had on hand)
1-8 oz. package sliced mushrooms
1/2 medium red (I used sweet) onion, cut n thin wedges
1/4 tsp. each salt and ground black pepper
1-13.8 oz. pkg. refrigerated pizza dough
3 oz. blue cheese crumbled
Fresh oregano (I used fresh basil), &/or pizza seasoning (optional)
1. Preheat oven to 425 degrees F. In a skillet cook beef, mushrooms, and onion over medium heat until beef is browned and onion is tender, stirring occasionally. Drain off fat. Add s&p.
2-Meanwhile, grease a large baking sheet or line with parchment. Unroll pizza dough. Roll or pat dough on baking sheet into a 15x12" rectangle. Top dough with beef mixture, keeping filling 1&1/2" from all edges. Fold edges over the filling, pleating as needed.
3-Bake tart for 15 minutes or until crust is golden. Remove from oven, top with blue cheese, herbs and seasonings. Serves 4. Add a salad and you have a delectable meal!
Dreaming of Summer
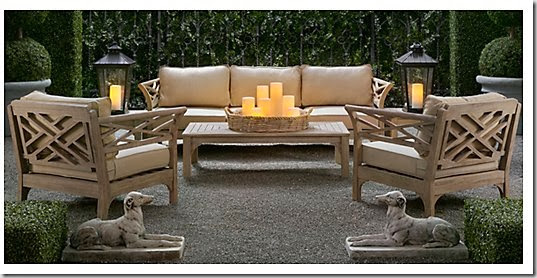
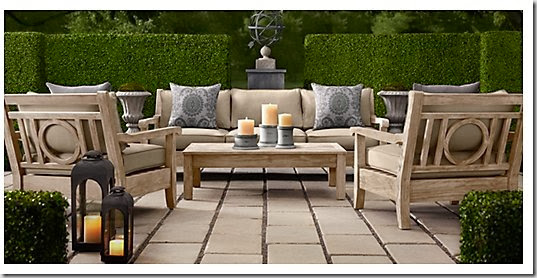
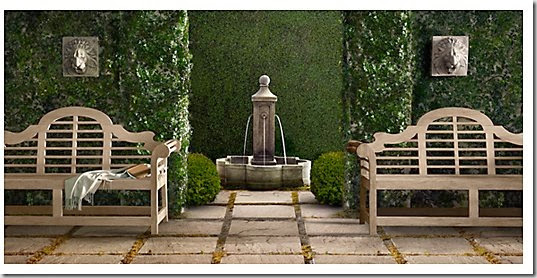
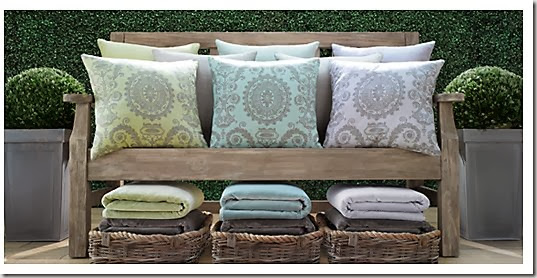
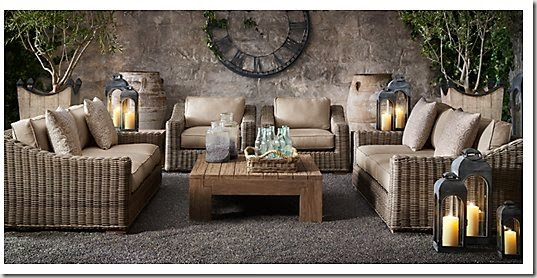
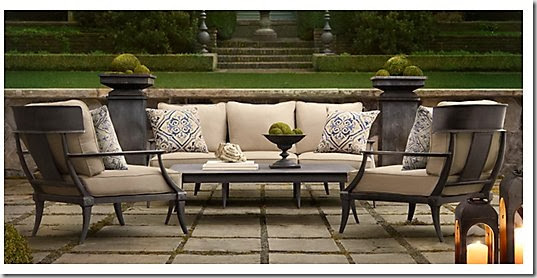
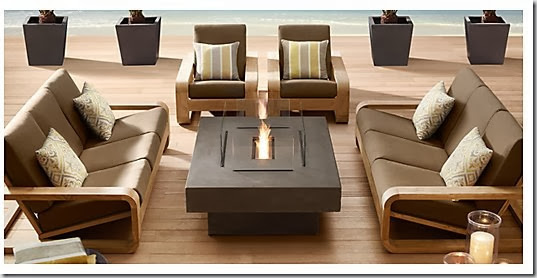
Needing some warm weather inspiration during this frosty time of year? Maybe these images from Restoration Hardware’s new outdoor furniture collections will help. I love the brushed weathered gray finish on the teak in the first four images.
Wouldn’t you like to have a nap on this sculptural daybed? At $6000 U.S., it’s out of reach for most people. Maybe the Martha Stewart outdoor collection that they are introducing in March/April at Home Depots across Canada will have something similar but more affordable. A check of the Canadian site only listed three items but I’m sure we will be getting more of this soon.
Thursday, February 25, 2010
Small Spaces: Pretty in White
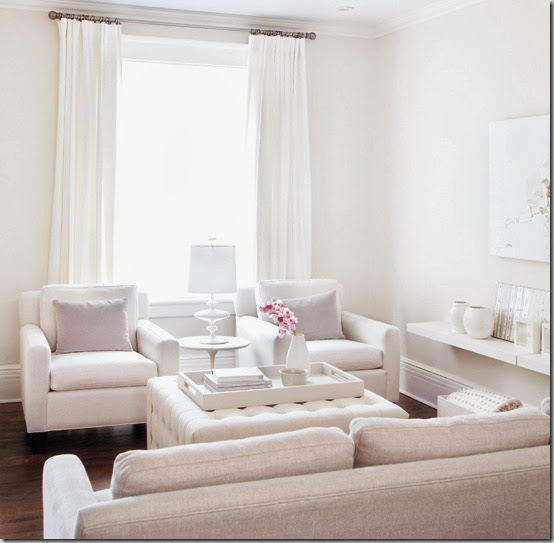
The April 2010 Style at Home is their Small Space issue filled with decorating ideas for tiny rooms. A few homes are featured but the one that spoke to me was that of design editor Ann Marie Favot. At less than 1000 square feet, her Victorian semi feels light and airy thanks to her use of varying shades of white throughout.
She mixes custom pieces like the sofa and chairs below with inexpensive finds such as the tufted ottoman from HomeSense (gotta love HomeSense!)
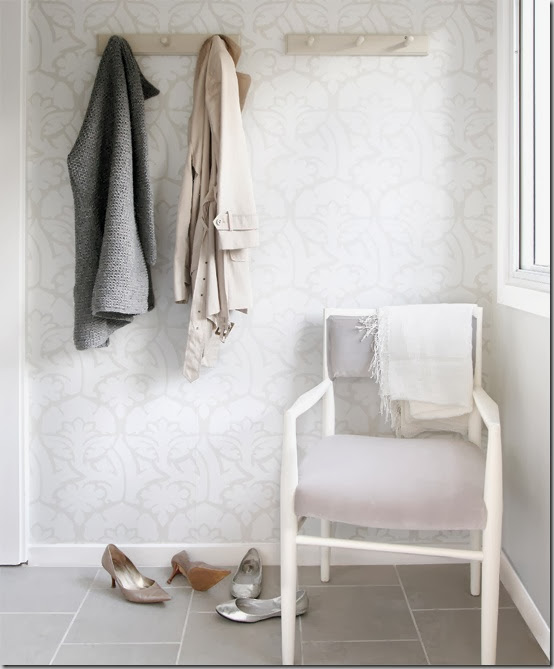
In the mud room, she used inexpensive porcelain tile which mimics limestone. I love the subtle Barbara Barry wallpaper.
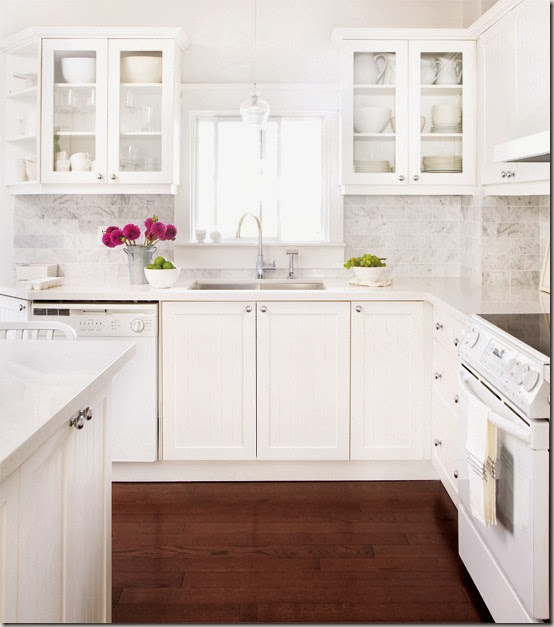
Isn’t this kitchen beautiful? She kept the kitchen cabinets and white appliances but added quartz counters, a Carrara marble backsplash and a Blanco sink and faucet. Most people would swap out the white appliances for stainless steel but she kept them because they work well with the cabinetry.
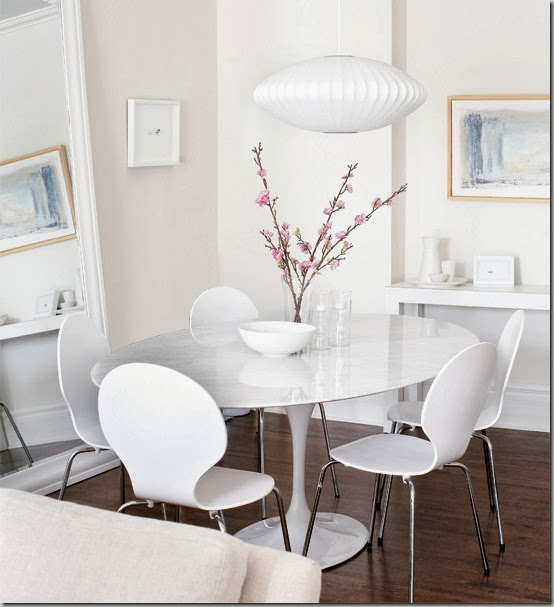
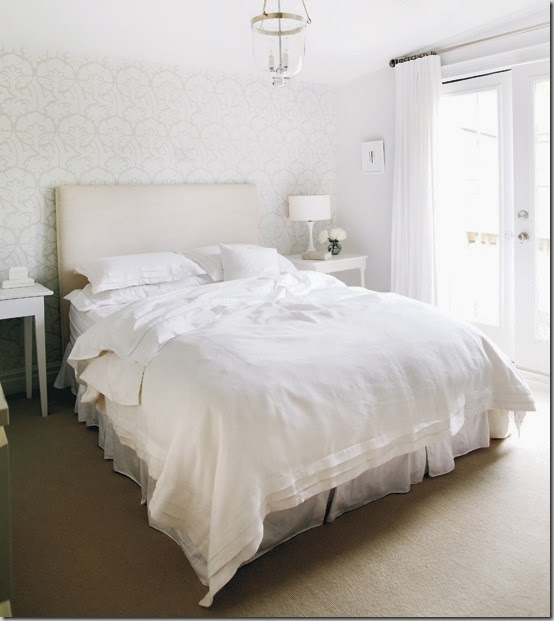
She invested in lighting, changing one fixture at a time over the course of three years. I love the sculptural Bubble lamp in the dining room, the dainty glass one over the sink and the bell jar pendant in the bedroom in the last photo (you know how I love bell jar pendants!)
(I updated my low quality scanned photos to ones from the Style at Home site, except the last photo .)
Science Fair
Paint Them Floors
 I must warn you though, if you choose to pull up your floor treatments and live on sub-floors there is a downside (at least in our house). The creaking of the floors is louder. My hubby and I joke that no one can sneak around in our house, not even the cat, without being heard. Other than that we've been happy with our cheap remedy to an ugly floor. And we've lived with them for longer than we planned---almost five years. So here's how I did it. . .
First take off the existing floor treatment and remove any protruding staples, nails, or splinters. Fill any large holes with wood filler, then sand. If you have any really rough areas give them a good sanding too. Then clean, clean, clean your floor. Sweep, vacuum, then sweep again to get rid of all dirt and dust bunnies.
Next, use a good primer. Our home was previously a rental and there were odd stains left on the floor. Primer prevents these stains from bleeding up through the new paint and, if they're pet stains, it blocks odors too. Primer helps paint to bond better to the existing surface, not to mention, you use less paint when you use a primer.
Our sub-floors are particle board on top of plywood. They look like this sample:
 As I said, they were not in the best of shape. There were some areas that "blistered" because of old spills. You can still see those areas, but you really have to look. The paint helps disguise the imperfections. Speaking of imperfections, I did not do anything with the areas where the boards butt up against each other. I looked into filling the crevasses but came to the conclusion that it would be a lot of work and may later become troublesome because floors are always moving; expanding and contracting with temperature and traffic conditions. Whatever you fill the cracks with will also have to expand or it will crack or peel. There are some caulks made to stretch but I chose not to spend the money.
 If you are lucky enough to have plywood or pine floors, hooray for you! If you're worried about splinters remember that paint acts as a bonding agent. As long as you sand down any worrisome areas before painting you shouldn't have any problems. Another nice thing about paint is that you can easily go back and touch up any gouges or wear spots.
I used two techniques on my floors.
 On our stairs and in our bedroom I simply painted with a latex paint. I did two coats. As you can see, I laid rugs in the high traffic areas.
I'm very pleased with the way both areas look.
 In my entry, hall and family room I put in more work.
 These areas get A LOT of wear! Plus the entry needed to stand up to wet shoes and puddles of melting snow. I primed them and then painted two coats of latex paint. I used a roller with a long handle attachment.
*HINT: Be sure that you plan out a painting strategy---you don't want to literally paint yourself into a corner.*
 Glaze stays "wet" longer than paint so it gives you more time to work on the look you want to achieve.
  (An actual close-up of our entry floor)
 Crunch up the bag and dab it into the glaze. Have several bags on hand because you'll need to switch bags once it's too soggy from paint. You will want to wear protective gloves too.
 Then simply "pounce" the the crunched bag onto the painted surface. Twist your wrist with each pounce to get a different pattern each time. You can even "swipe" in a few areas too, just for variety. Pounce and swipe until you achieve the desired look.
 For my floors, I used a darker color glaze on top of a lighter color paint.
 The paint and glaze layers give the floor more depth and character.
After the glaze dries thoroughly, roll on a couple of layers of a good polyurethane to protect the floor from wear and moisture as well as give it a little shine and make it easier to clean and maintain.
 It's a time consuming process; taking a few days. But it is a lot less expensive than carpet or any other flooring. It's also a good way to test out what it's like to live with a bare floor before you make the investment into hardwood or laminate.
Wednesday, February 24, 2010
An Influential Build
Someone who plays a key role because they
unlock thoughts about yourself you never thought before.
 Someone who immediately becomes your friend because they can see
  And, in my case, someone who has so much faith
in my design abilities that she was the very first to say,
"You've got a talent and I want to pay you for helping me."
 And then she recommends you to others because she believes in you so much. Yes, that would be my friend who owns the cabin I showed you in the last post. She has been such
a wonderful influence for good in my life.
 I hope to be like her!
of door furniture, for her and her husband, I wanted it to be special.
Glamor girl party...

Tell me how I can improve the card... Thanks to google, images is easy to obtain... its just puting them together....
 I totally love the little favor bags my friend put together....
 All set to pamper the little girls...
 Loved the little mirror, the nail thingy for a manicure... (I dont know what its called) & all the other sweets...
Girls just want to have FUN!!
Did you like it???
Monday, February 22, 2010
Decorating Finds
Want to give your home a lift for Spring? HomeSense, the Canadian version of HomeGoods in the States, is full of decorating inspiration and is budget-friendly to boot. You never know what you will find and have to check in often because once pieces are gone, they’re gone. The Canadian House and Home site featured some products from their 2010 Spring/Summer line. The following items caught my eye on a trip to my local store this weekend.
If you have been looking at fabric at Invu/BB Bargoon’s, I’m sure you have seen this fresh, graphic fabric before. These cushions, made in the US, are only $29.99 and would add a punch of colour to a neutral sofa or an all-white bed. So pretty!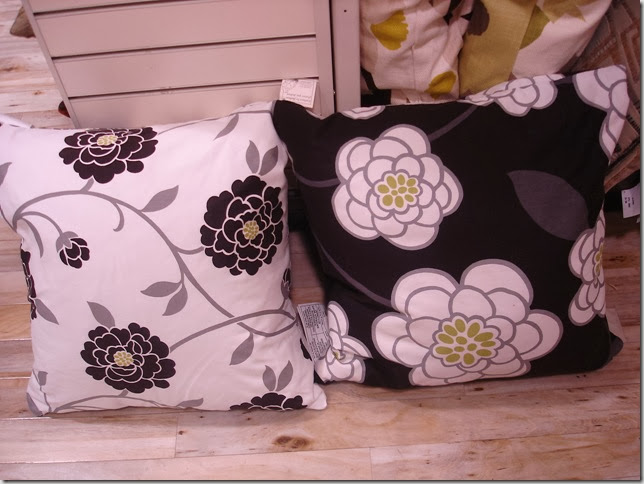
I love the cut-out detailing on these nesting tables and at $49.99 for the large one, they are a steal. They are made in Indonesia.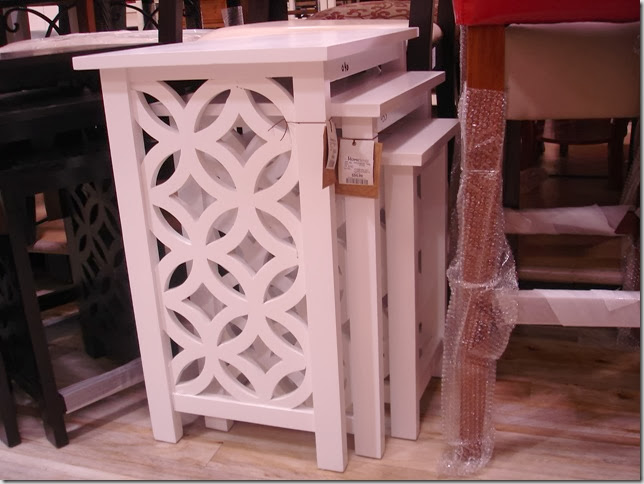
How pretty are these cubes? Can see them in a little girl’s room or playroom. Only $39.99 each!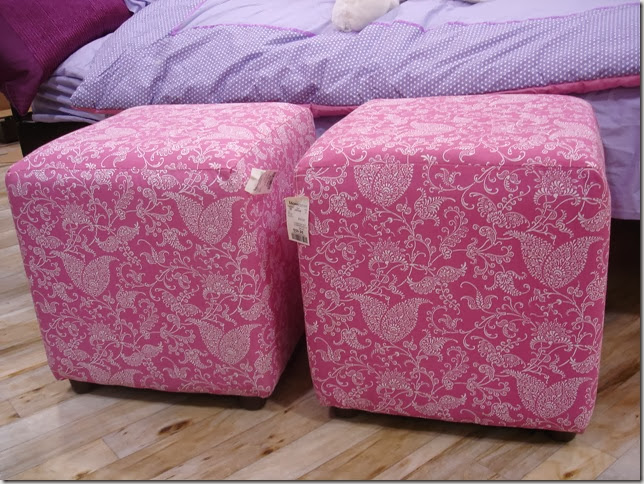
These chairs came in a few different fabrics and were very comfortable. They are a modern take on a wing back chair with a low profile and small scale. They were just $149.99.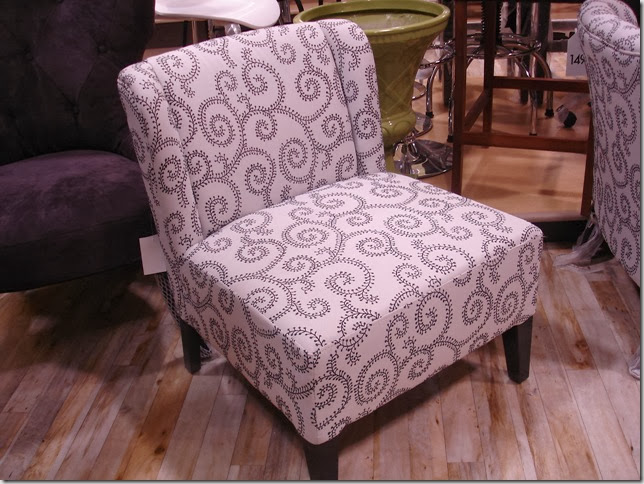
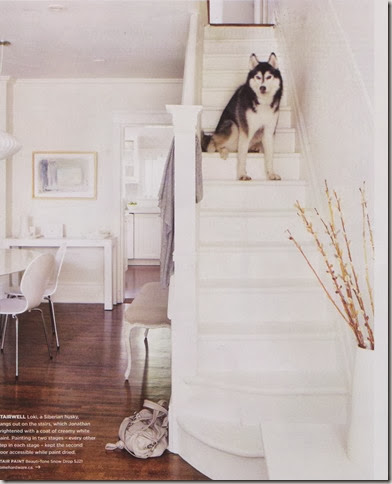
My biggest DIY project: The stairs
Sunday, February 21, 2010
A Winner, A Follow-Up and a Tease
Congratulations Ashley!!!
Do you remember months ago when I shared a little project that my hubby and I worked on together for our friends cabin?
The original fireplace looked like this.
 I designed, hubby and I built, and I painted. Then the fireplace looked like this.
 Well here is a photo of the decorated mantle.
 I love the way it looks with the big mirror above and the wreath hanging in front of the mirror. Our friend said that she's replacing the small wreath with a larger one, so just imagine it looking that way now.
Isn't their cabin beautiful!
 Do you see the refection in the mirror of the gorgeous quilt?
 Our friend is literally the Queen of Quilting. This lady is talented! I am so lucky to know her. She is my inspiration, not just because of her creative talents. But because she is incredibly confident and caring. And she and her husband are two of the most generous people I know! Not to mention that they willingly put their trust in us to build them a few items for their beautiful cabin.
The mantle isn't the only thing we did. We built another item for their cabin too. We started with an old solid wood back door.
 Here's a sneak peek with more photos to follow soon.
