Showing posts with label spring decor. Show all posts

Friday, January 25, 2013

Sprinkling in a Little Spring

When the weather outside is full of  
white and gray 
it can get a bit depressing.
Just look at all the snow 
on my make-shift spray paint table---
that's enough to make any DIYer a bit sad. 
To help lift my mood I've sprinkled in 
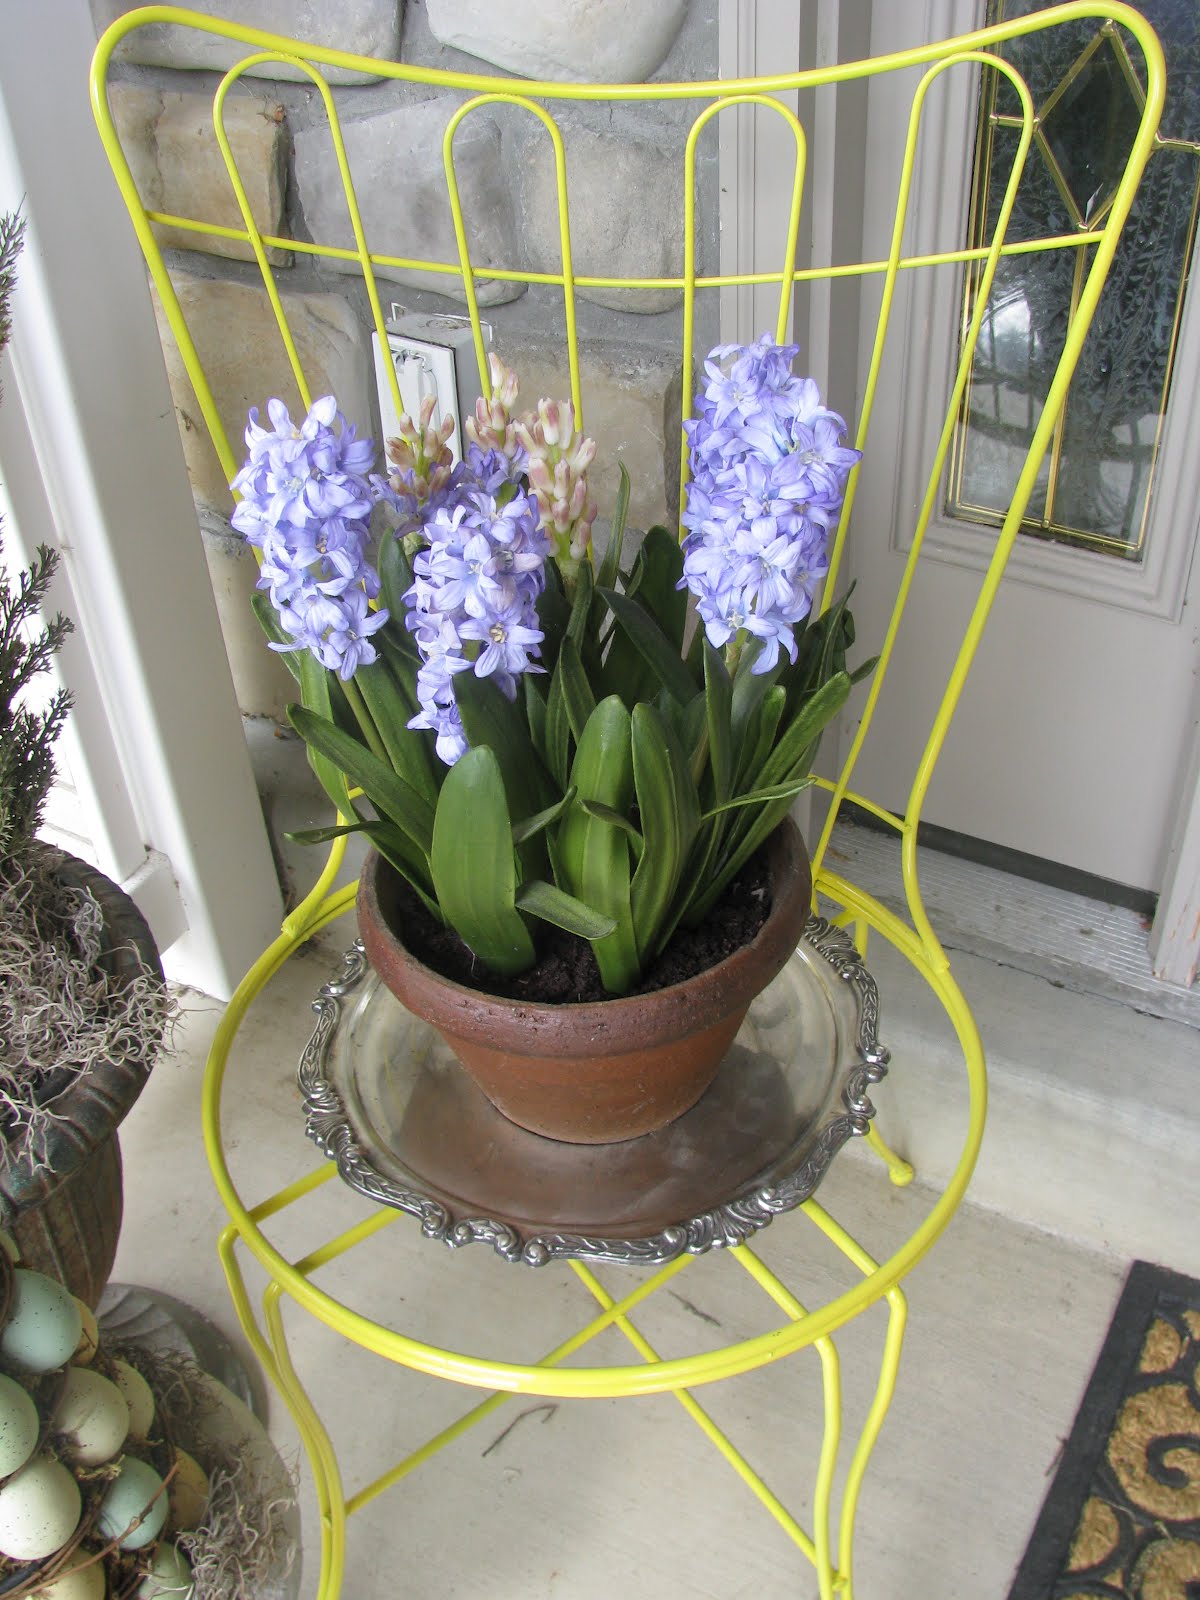
a little bit of Spring green 
 in with my winter decorations. 
 Green accessories and plants 
(faux and real)
 give me hope that  
Spring is just around the corner.

Friday, March 30, 2012

Add Eggs or Chicken

For years my holiday decorating consisted of hauling out totes, clearing off most surfaces, and replacing the everyday decor with entire holiday vignettes. Now I find that I like things better when I just add holiday items into the everyday vignettes.
This year our home became more "Easter-y" by the simple addition of eggs or chickens.
The family room mantle before:
And after:The entry table before:Now supplemented with a couple of chickens and more flowers:The living room end tables accessorized with elements of Easter:A few dozen eggs placed here and there:

Tuesday, March 27, 2012

Layering on Spring

My front porch spring decorations consist of many layers.The wreath on the door is actually two wreaths layered on top of one another then hung onto a scrap of beadboard. There is even a small nest snuggled inside.The pot of faux flowers (it's still too cold for the real thing) is layered onto a silver tray laid a top a cute thrifted metal chair.The layers continue with a faux bush in an urn, complete with another little nest at the roots.The bush stands behind the egg tree (faux of course!) that has been plopped into a pretty distressed white urn.Then the porch is finished with spring green lanterns that have nests with eggs layered inside.
That's how I
layer in a little Spring time!

This post is linked to:

Wednesday, March 14, 2012

Simple Spring

How to Decorate for Spring
the Quick and Simple Way.

Step One-Get a stick from the yard.
Step Two-With a hot glue gun apply moss to the stick
thus turning it from a "stick" into a "designer branch."
Step Three-Place the designer branch on a pretty tray.
Step Four-
Add a candle.
This vintage tray was a $1 thrift store find.
I LOVE the battery operated candles with timers!!!

Step Five-Complete the vignette with
a springtime flower
.
If the flower is faux make sure it could pass as the real thing.

Step Six-
Enjoy!


Please cast your vote for Joys of Home HERE.
Thank you, oh so much!

Friday, April 15, 2011

‘Spring’ means… (to me!)

When I think or say ‘spring’… I instantly think of ‘spring cleaning’.. Don’t laugh!! … … … … Oh stop it!! That’s just ME… I have to clean, clear and de-clutter.. That’s the most important!!… The last week has been a week of massive cleaning projects, from my kids room, to my room, from bookshelves, to toy boxes to finally the terrace and front porch today.. The week ahead, I’ll be making a list of things to do, and ways to refresh moi’s home…


Spring is a time for warm weather, and pretty green grass growing, with leaves & flowers beaming… Everything seems to be springing back to life *smiles* A time to think of BBQs and beach parties… flying kites & playing football..


Spring to me is a season … of love … It’s a time for pastel colours …. a time for me to take another look at my art work… and continue to dream of ‘project next’…


A time to rearrange my outdoor spaces… bring in flowers… and fancy vases…


When doing that and more today.. I also rearranged my ‘Zen zone’. I played around with the bench this morning… and created my Zen corner for the week… Across this bench is where I’ll be spending my mornings… *smiles* I’m linking this to The Key Bunch April Spring/Summer Carnival and a few other blog parties!!